Payments Stripe Terminal, Credit and Debit Card Reader, POS Point of Sales
Stripe POS Integration with Virtual Front Desk
The Stripe POS integration allows your Virtual Front Desk receptionists to send payment requests directly to a physical terminal at a station — all during a live video call with a client. This seamless workflow eliminates the need for separate payment processing steps and keeps transactions tied to the client interaction in real time.
Using the POS icon within the web app, receptionists can upload an invoice, enter a payment amount, client name, email address, and transaction description. The client completes the payment on the Stripe Terminal S700, and both an invoice and receipt are automatically sent to their email upon completion.
Please note that this feature is available exclusively on the Enterprise plan. Before getting started, you will need an active Stripe account and a Stripe Terminal S700 device paired with your Virtual Front Desk station.
How to Set Up and Use the Stripe POS Integration
Our Stripe POS integration lets you send a payment request directly to a terminal at a station in just a few clicks, all during a live video call with your client via our web app.
By clicking the POS icon during the call, the receptionist can upload an invoice, enter the amount, client’s name, email address, and a transaction description to display on the station. The client then pays on the terminal and automatically receives the invoice and receipt by email.
Please note, this feature is available exclusively with the Enterprise plan.
Below are the steps to add this feature to your Virtual Front Desk setup.
Step 1:
Create your Stripe account here: https://stripe.com
Step 2:
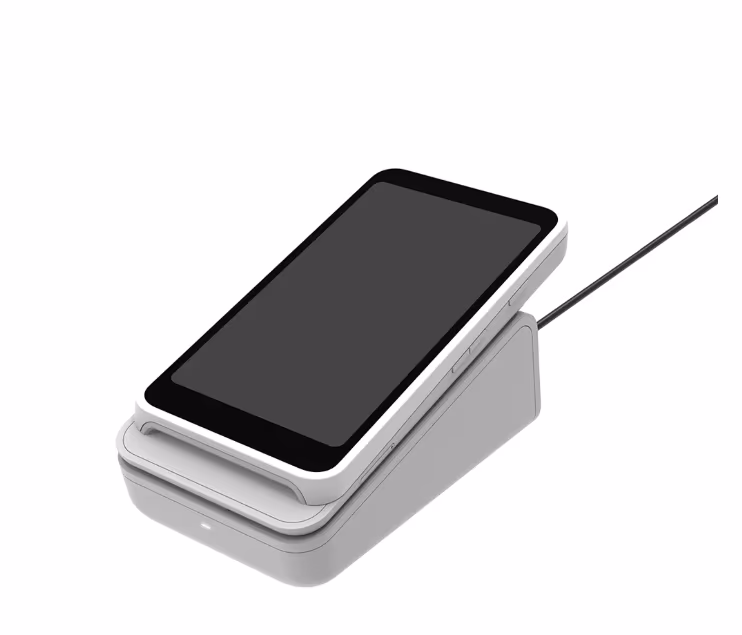
Order your Stripe Terminal S700 here: https://stripe.com/en-ca/terminal/s700
Step 3. Integration
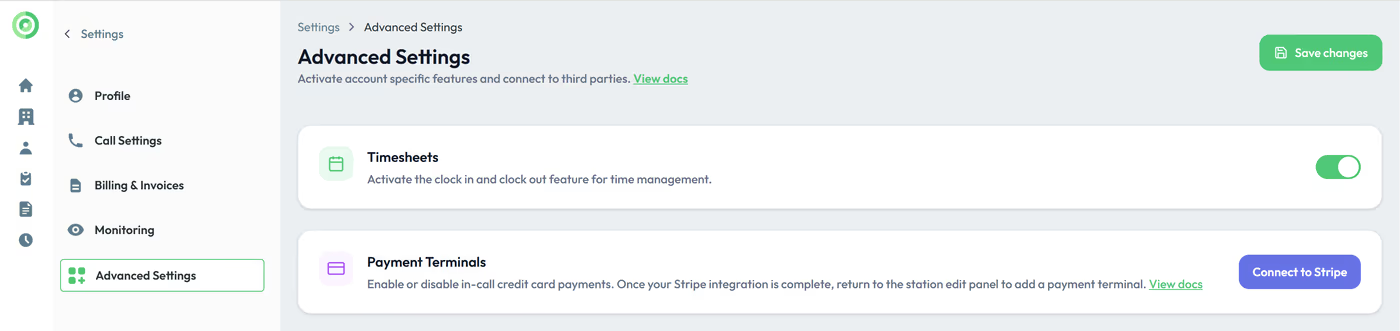
From the Settings menu of your Virtual Front Desk dashboard, connect your Stripe account.
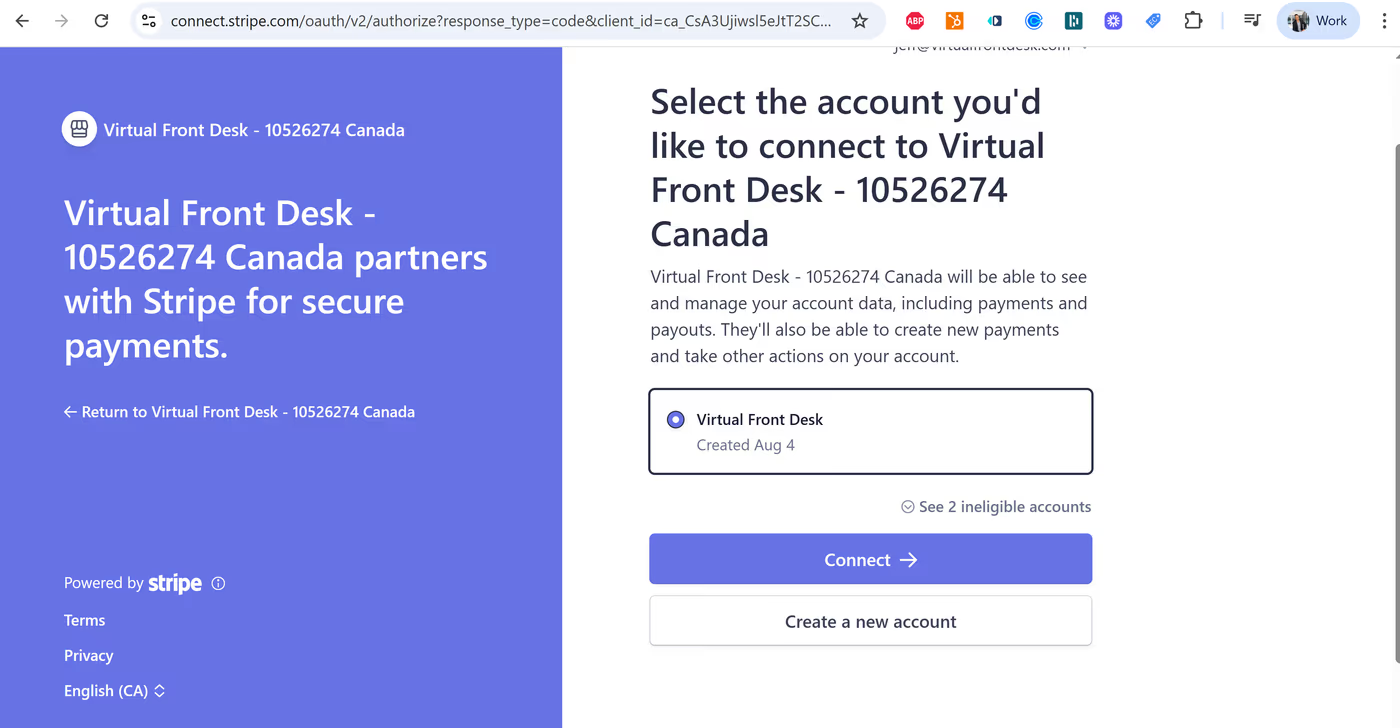
Select the Stripe account you want to connect.
Once your Stripe account connected, go to the station's edit panel you would like to add the terminal to. Click add terminal.
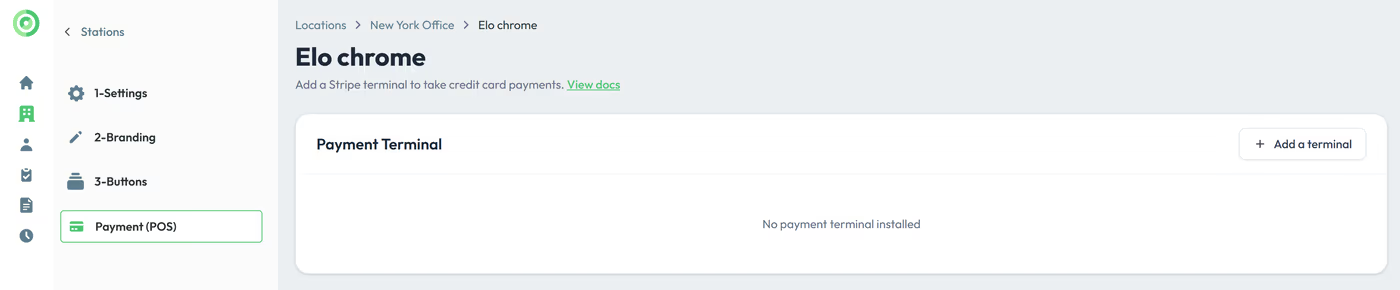
Click "Add a Payment Terminal"
Fill out the information and enter the pairing code of your Stripe S700 terminal. Click add terminal. Your POS is ready to use.
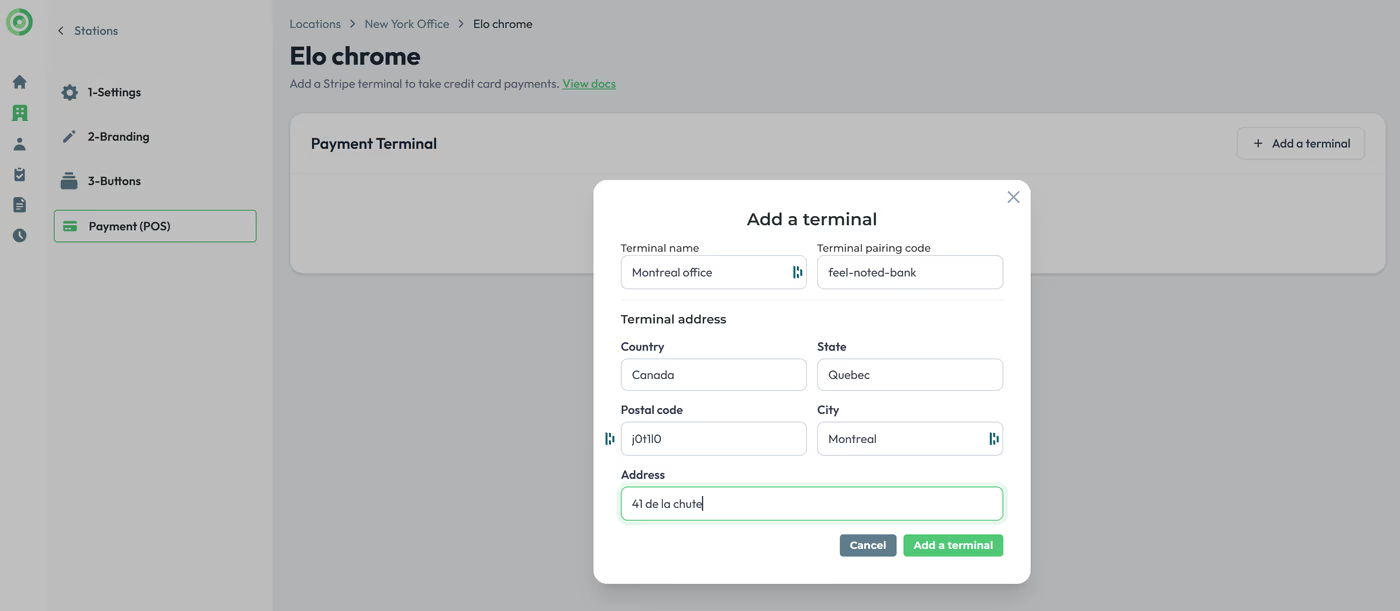

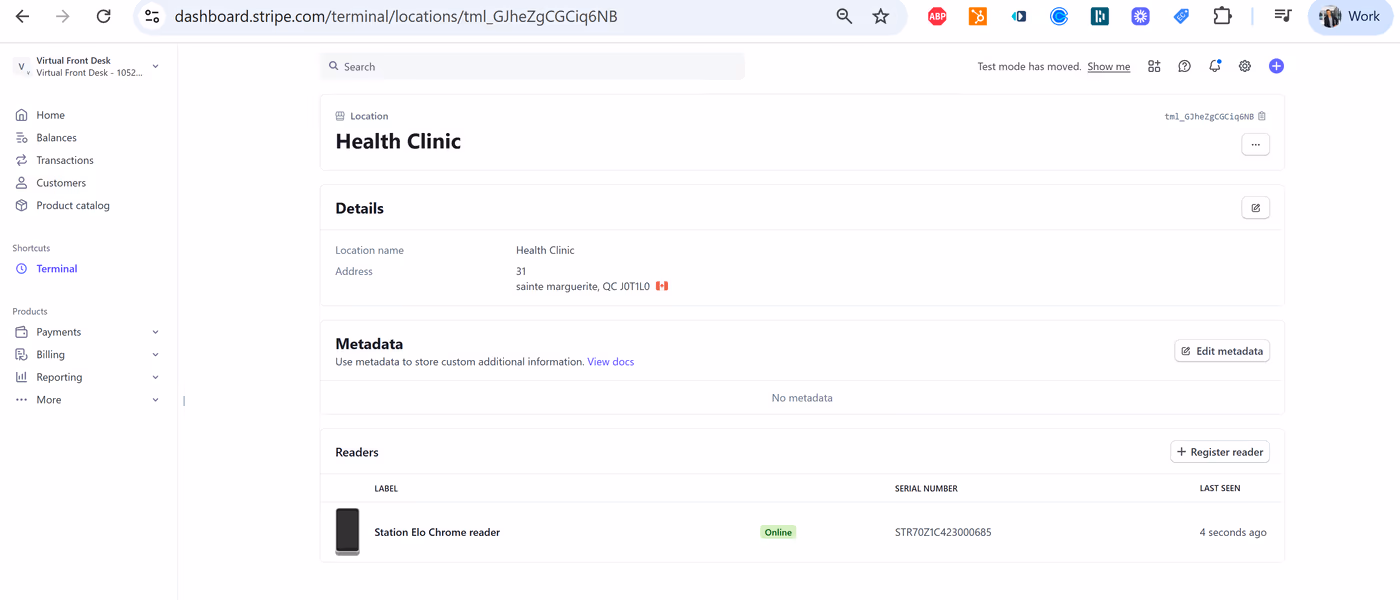
(The reader's information has been automatically added to your Stripe account.)
How to send payment requests to the station
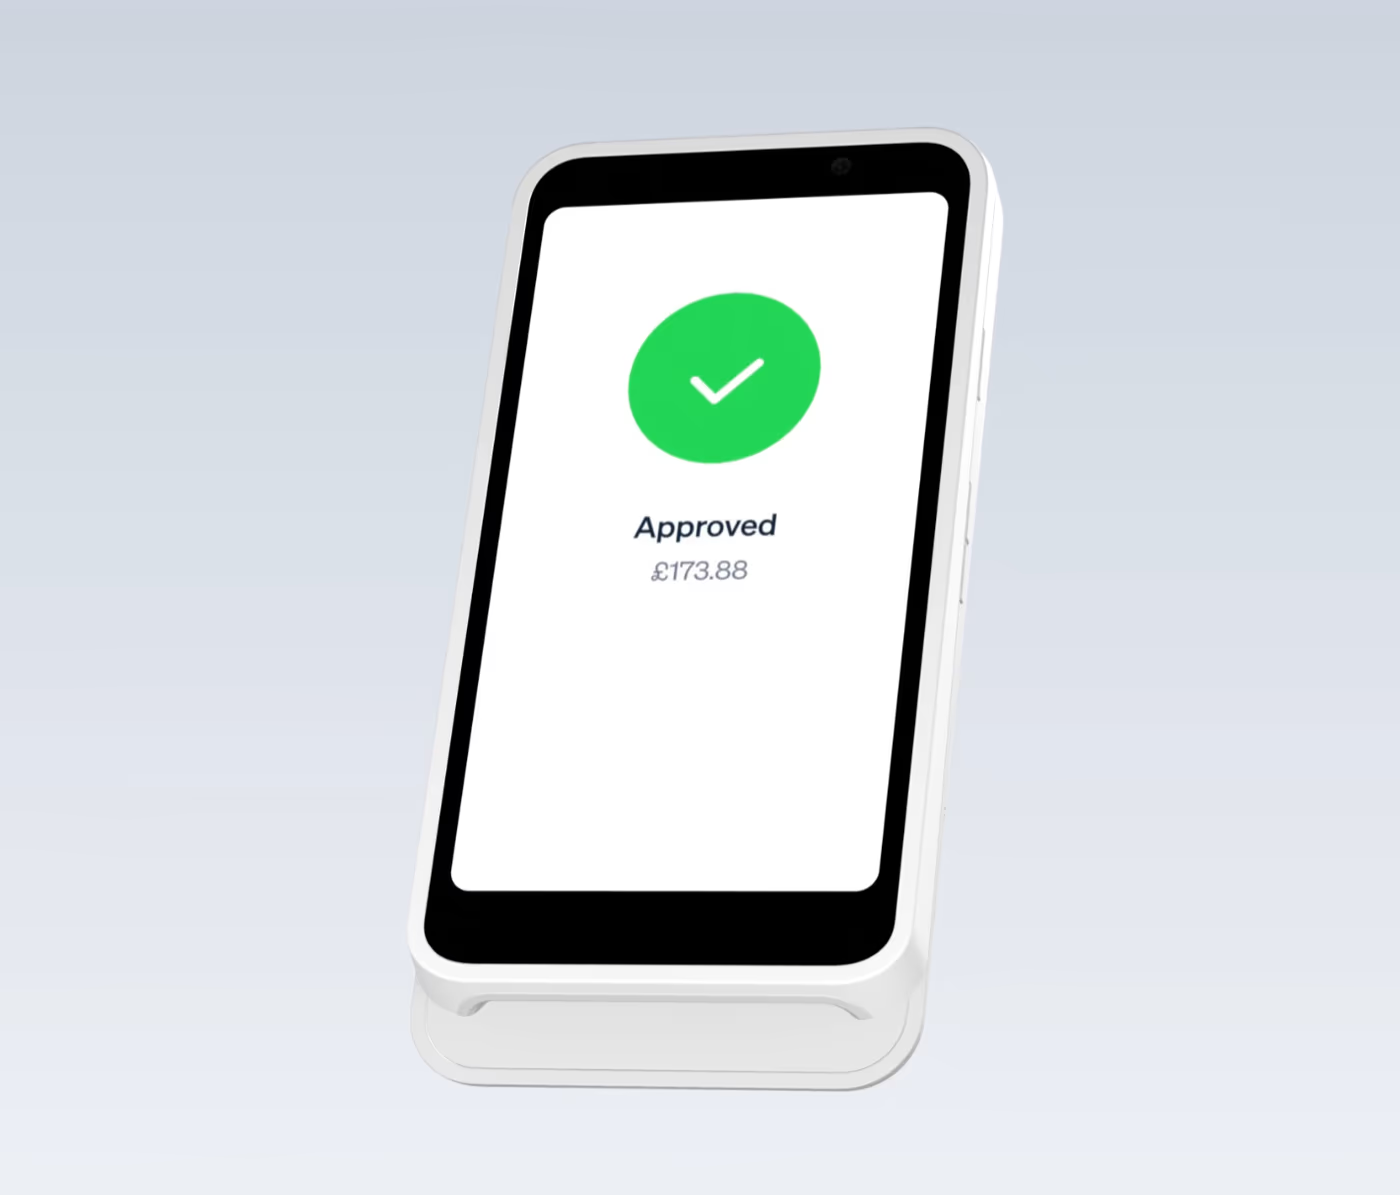
During a live video call, click the credit card icon. Upload the invoice, enter a description, the client’s name and email, and the payment amount. Then click Send to Terminal. The amount will appear on the terminal for the client to complete the payment.
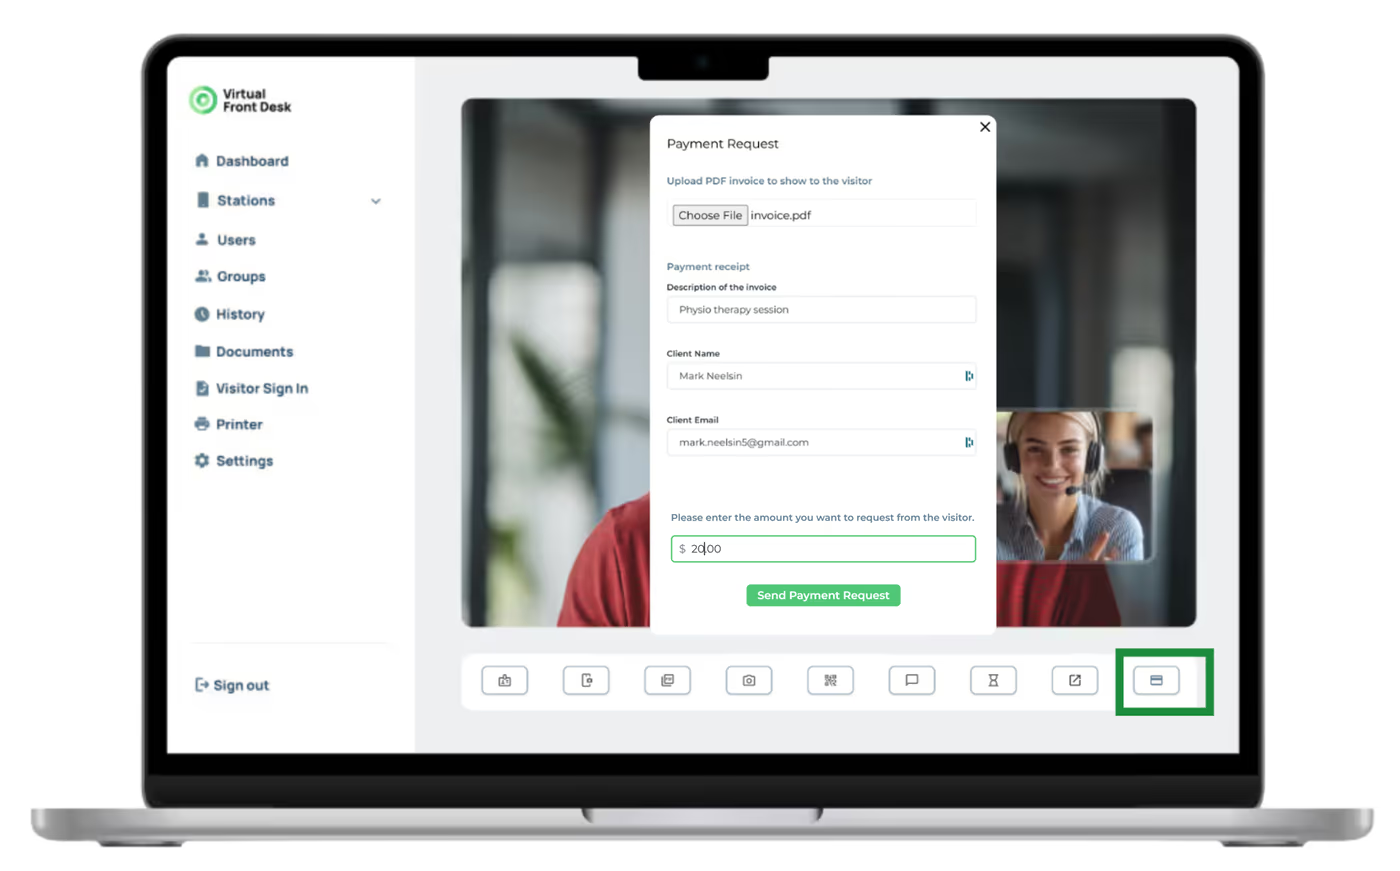
The invoice will appear on the station, and the payment amount will be displayed on the card reader.
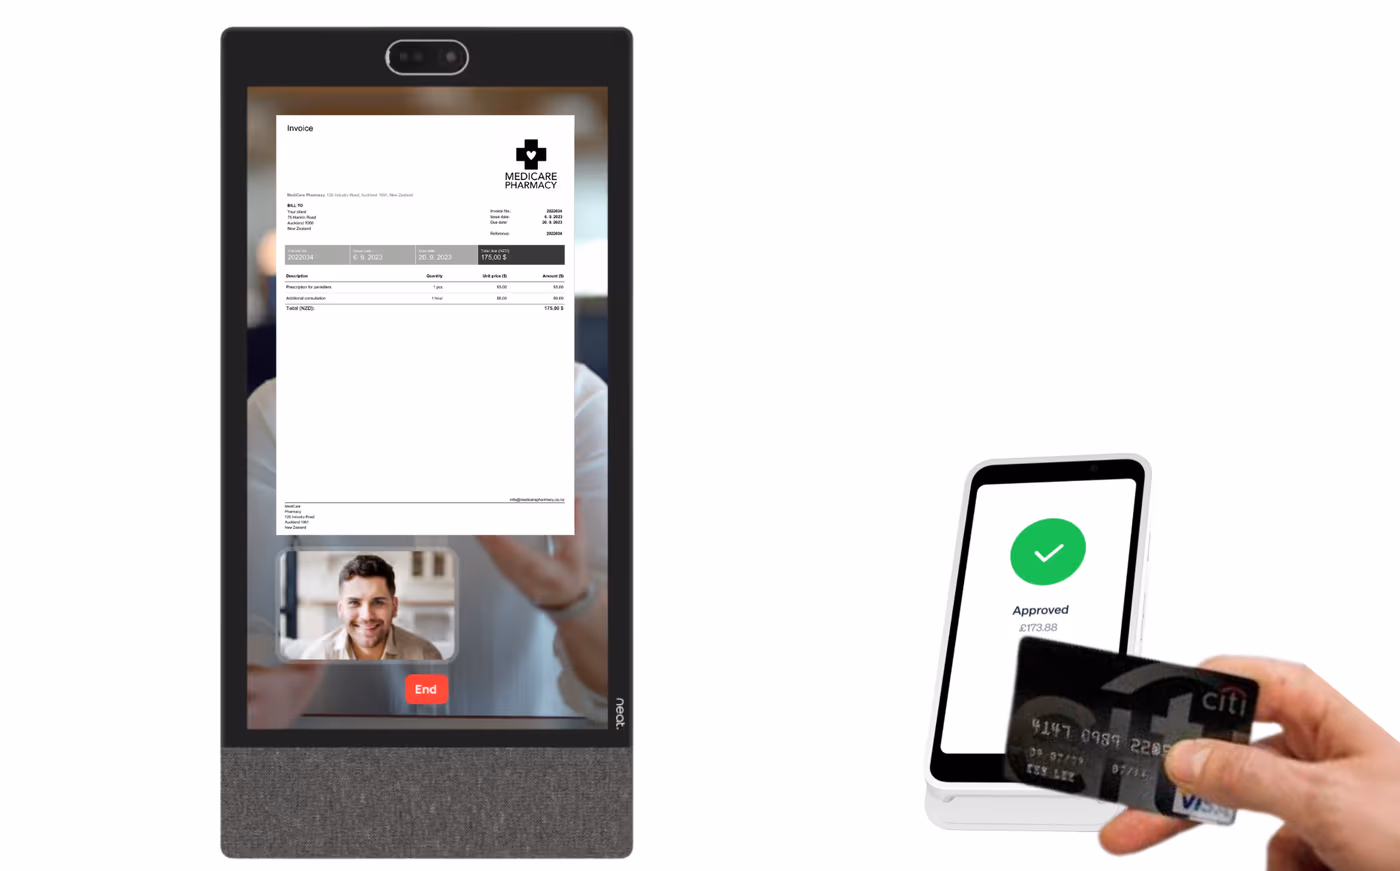
After the transaction is complete, a copy of the invoice and receipt will be emailed to the customer. For easy reference, all transactions are saved in the Virtual Front Desk Dashboard under the History tab > Transaction Logs.

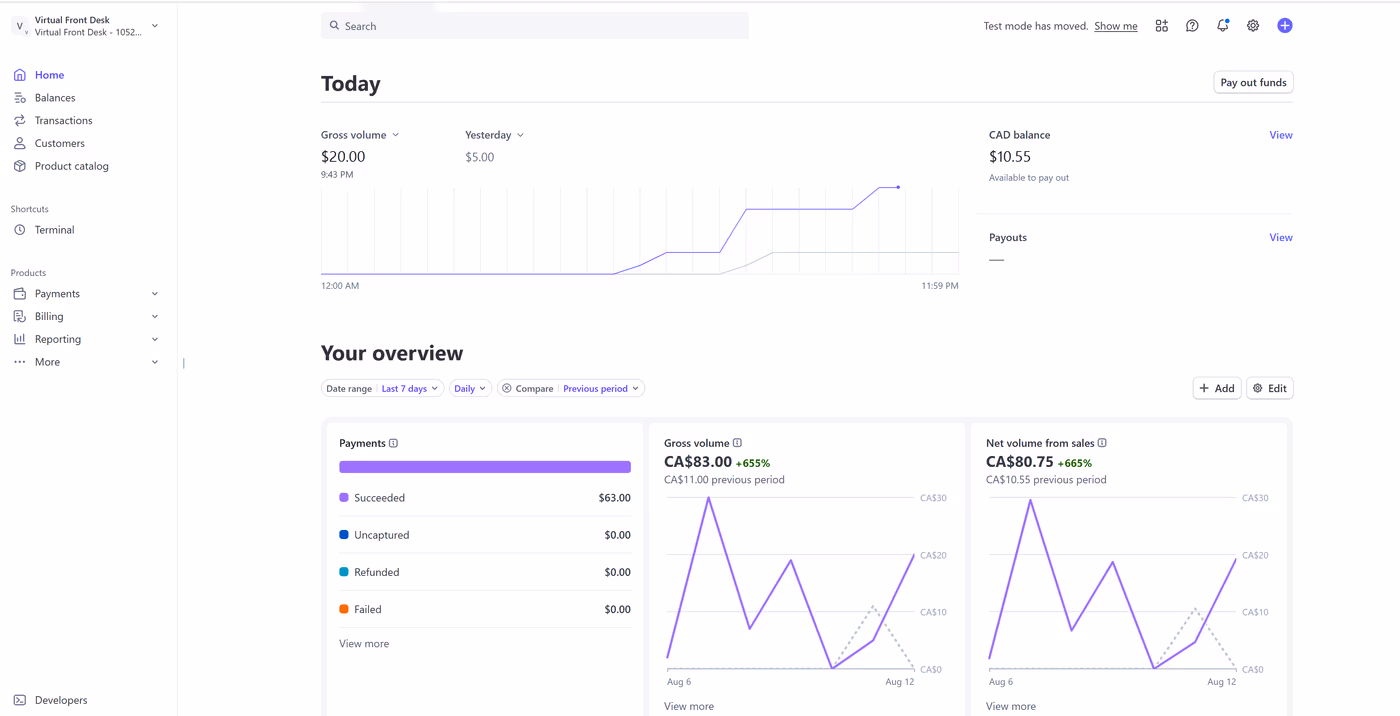
For accounting and reporting, all transactions can be accessed in your Stripe account dashboard.
Key Takeaways for Stripe POS Setup
Setting up the Stripe POS integration involves three main steps: creating a Stripe account, ordering the Stripe Terminal S700, and connecting your Stripe account through the Virtual Front Desk dashboard settings. Once connected, you can assign the terminal to a specific station using a pairing code, making it immediately ready for use during live video calls.
During calls, receptionists can send payment requests in just a few clicks, and all completed transactions are automatically logged under the History > Transaction Logs tab in the dashboard and within your Stripe account for accounting and reporting purposes. This integration streamlines the payment experience for both staff and clients without interrupting the virtual reception workflow.